
If you're ever getting tired of a certain kind of dish: don't be shy about shaking things up! Although you could reinvent your entire plate, there are things you can do to increase the intrigue of nearly any meal that you love.
These are four of the most creative ways to add some heat and flavor to your food while still getting to enjoy the familiar flavors that you love.
Unique Spices
We all know about cayenne and chile powder, but why not take it further? In southwestern American states, there's a popular spice called chiltepin.
Made from powdered chiltepin peppers, this fine red grain is incredibly spicy and quickly adds heat to any dish without adding much flavor outside of it. This ingredient is the best way to heat up familiar dishes without changing their flavor too much.
There's a lot of hot flavor in this, so a little chiltepin goes a long way! If you're interested in trying this, ensure you buy the full powder instead of trying to make it from dried peppers yourself since it can be hazardous to breathe in while blending.
Fun Dipping Sauces
Dipping sauces can change the flavor of any dish without having to change the steps of making it! This could mean serving a dish with fun pepper jelly, or making your own unique sauce.
If there's any fast-food chain you love that has a tasty spicy or tangy sauce, consider looking up homemade duplicates that you can try in your kitchen! This is a fun way to try out making your own sauces while getting to make it as spicy or mild as you'd like.
Creative Combinations
If you're used to the classics and want something fresh, consider replacing parts of the recipe to boost the flavor some. This could mean replacing the cheese in chicken cordon bleu with pepper jack or adding buffalo sauce to your favorite hollandaise when you make eggs benedict. Combining spicy and creamy together ensures that it doesn't devour the original flavor of the dish but amplifies it and makes it something more playful.
Almost any dish can have items shipped out or added to make it spicier, like replacing celery in your mirepoix with jalapenos to keep the same bright green texture while adding spice. So don't be afraid to get creative.
Sometimes Spice Isn't Capsaicin.
Although most people think of hot peppers when they think of heat: capsaicin isn’t the only way to make a dish burn in a good way! Instead, consider spicing it up in other ways. For example, for desserts, cinnamon can add a lot of unexpected heat.
Although it's usually used in smaller amounts, cinnamon, when enough is used, can quickly build into a pleasant warmth and is the reason why Altoids and Big Red gum are known for a nice burn.
In savory dishes, consider including horseradish! This root can pack a major punch and is the main ingredient in American wasabi: so you know it’s hot. It’s a delicious and healthy ingredient you can add to almost any savory dish to create a complex flavor.
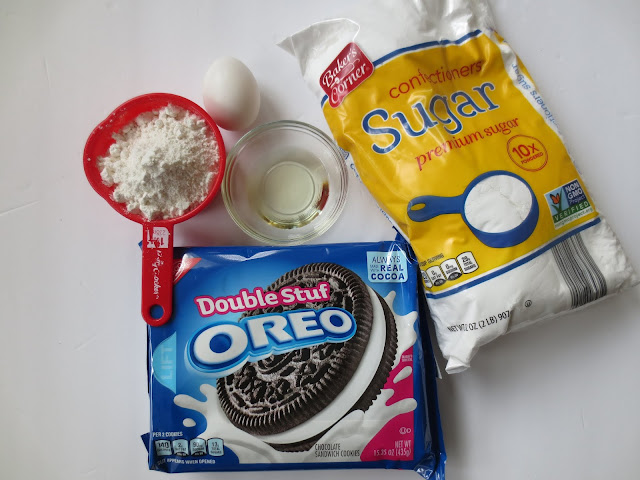
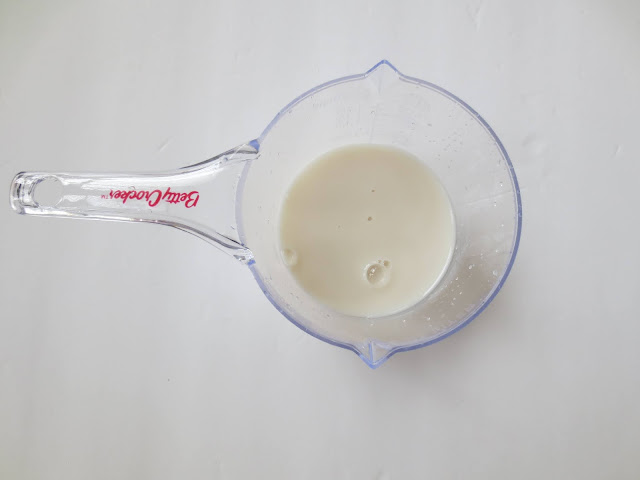
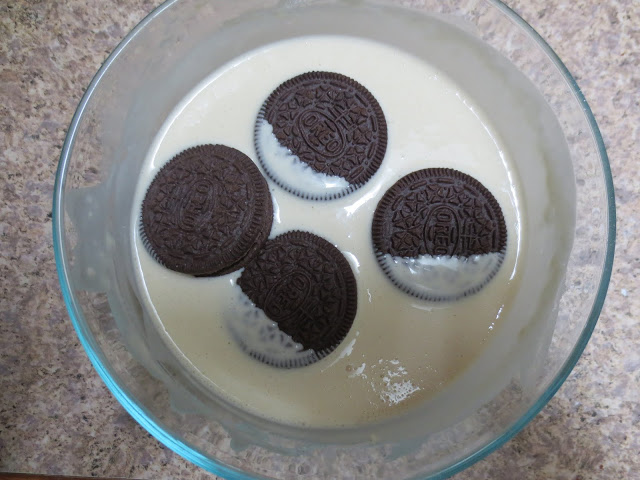
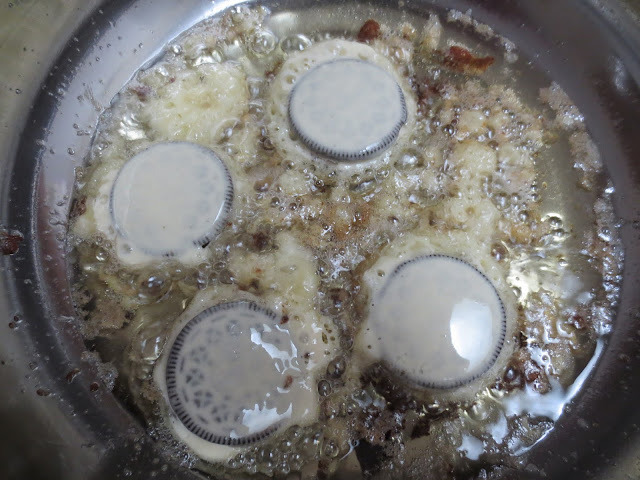
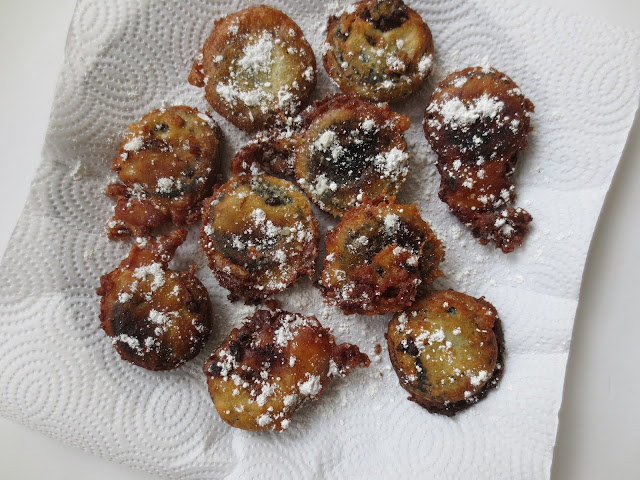
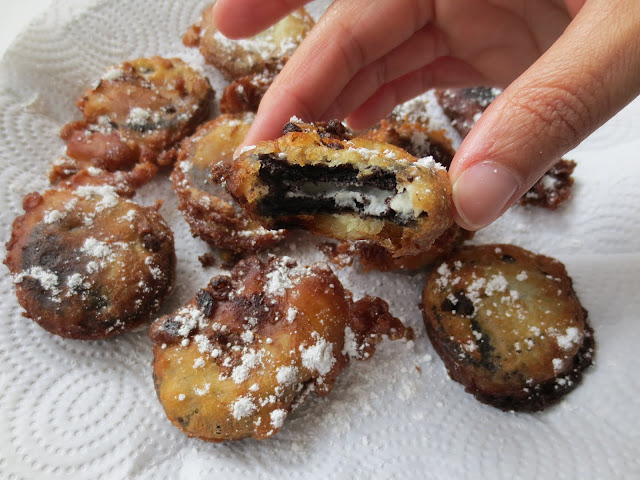
I have been wanting a deep fried Oreo for years! Every time I would go to an amusement park or fair the stand for deep fried Oreos wasn't open. I was so intrigued about these deep fried Oreos I said "I'm going to make them myself from home" I was surprised at how little bit of ingredients to make them. Here is everything you need:
I have been wanting a deep fried Oreo for years! Every time I would go to an amusement park or fair the stand for deep fried Oreos wasn't open. I was so intrigued about these deep fried Oreos I said "I'm going to make them myself from home" I was surprised at how little bit of ingredients to make them. Here is everything you need:
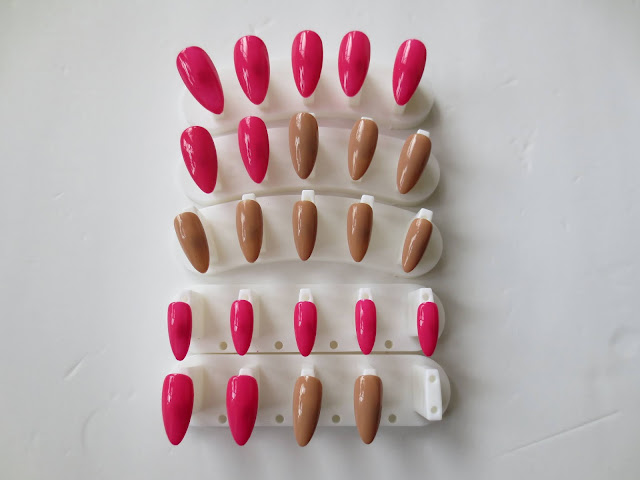
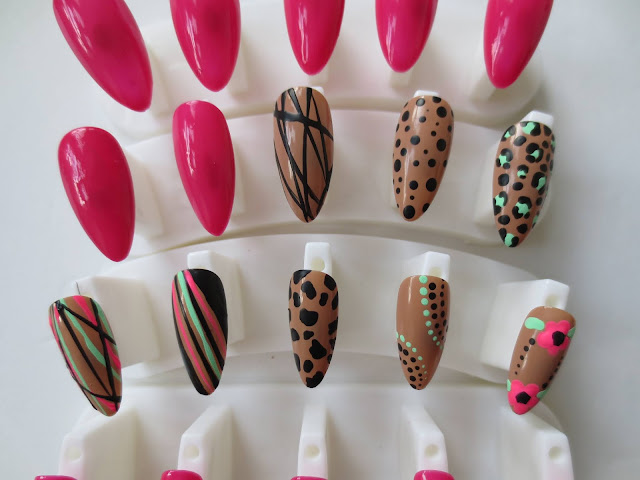
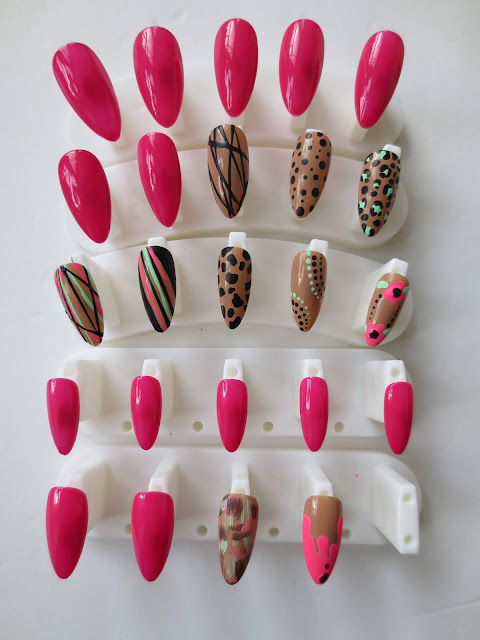
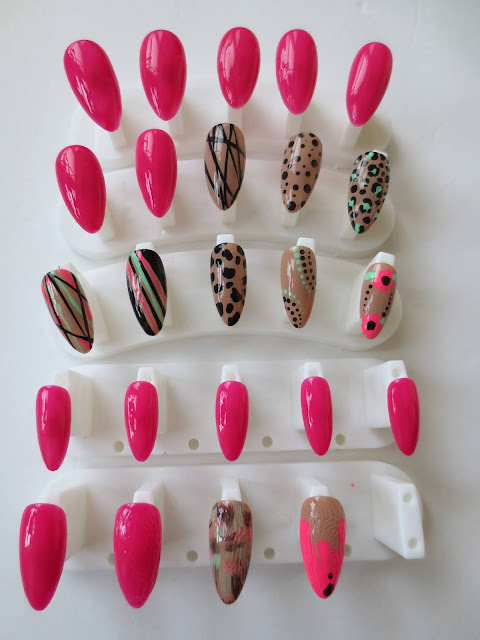
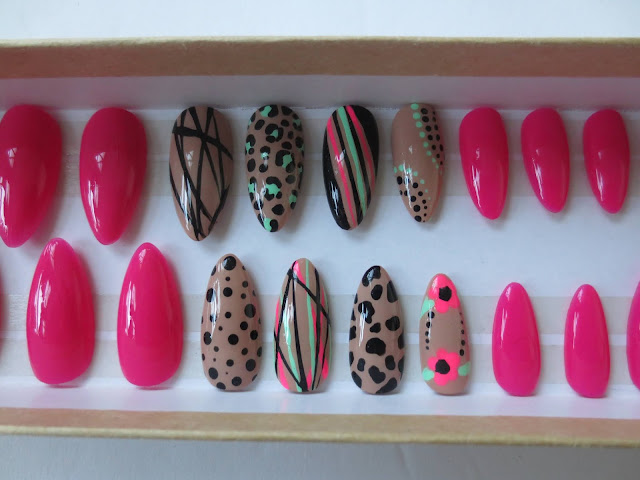
Doing custom press on nails from home is extremely easy. All you need is any shape of press on nail (make sure they are full cover) Any type of nail stand, and some type of sticky putty to attach the press on nails.


Doing custom press on nails from home is extremely easy. All you need is any shape of press on nail (make sure they are full cover) Any type of nail stand, and some type of sticky putty to attach the press on nails.
I'm all about some DIY projects. So when I was thinking about changing my video backdrop/ background in my recording room for YouTube I thought about the popular organic balloon garlands I keep seeing online and on Instagram. I used to work at a party store for years blowing up balloons on a daily so I thought this would be a fun DIY balloon project. I got a balloon pump from Ebay, table cloth from The Dollar Tree and the balloons are both from The Dollar Tree and Ebay.


I'm all about some DIY projects. So when I was thinking about changing my video backdrop/ background in my recording room for YouTube I thought about the popular organic balloon garlands I keep seeing online and on Instagram. I used to work at a party store for years blowing up balloons on a daily so I thought this would be a fun DIY balloon project. I got a balloon pump from Ebay, table cloth from The Dollar Tree and the balloons are both from The Dollar Tree and Ebay.
This is one of my favorite quick bean salads I make when I need to prep some food to last a couple days. Dairy-free garbanzo bean aka chickpea salad is my favorite because there is REALLY no cook time. Unless you would like to make your garbanzo beans fresh. Mines are out of the can but you can make this with homecooked garbanzo beans and it will be even tastier! Here is everything you need to make this delicious dish!
 I'm just one person so I used one can of garbanzo beans (chickpeas) but feel free to add more if you are making this dish for more people. Black olives, Sweet relish, Plant based Mayo, Yellow Mustard, and red onion (its not pictured here but I added some sliced green olives also.


This is one of my favorite quick bean salads I make when I need to prep some food to last a couple days. Dairy-free garbanzo bean aka chickpea salad is my favorite because there is REALLY no cook time. Unless you would like to make your garbanzo beans fresh. Mines are out of the can but you can make this with homecooked garbanzo beans and it will be even tastier! Here is everything you need to make this delicious dish!
I'm just one person so I used one can of garbanzo beans (chickpeas) but feel free to add more if you are making this dish for more people. Black olives, Sweet relish, Plant based Mayo, Yellow Mustard, and red onion (its not pictured here but I added some sliced green olives also.I did it again! I was able to scoop four colors of nail polish from The Dollar Tree all Sinful Colors brand! I'm super excited because its very rare to see Sinful Colors nail polish in The Dollar Tree. Sinful colors nail polish is usually in a store like Sally's or a higher priced beauty store. I was also impressed with the shades I picked up. Usualy the colors all look alike or they are dull and unwanted but these colors are POPULAR!.


I did it again! I was able to scoop four colors of nail polish from The Dollar Tree all Sinful Colors brand! I'm super excited because its very rare to see Sinful Colors nail polish in The Dollar Tree. Sinful colors nail polish is usually in a store like Sally's or a higher priced beauty store. I was also impressed with the shades I picked up. Usualy the colors all look alike or they are dull and unwanted but these colors are POPULAR!.
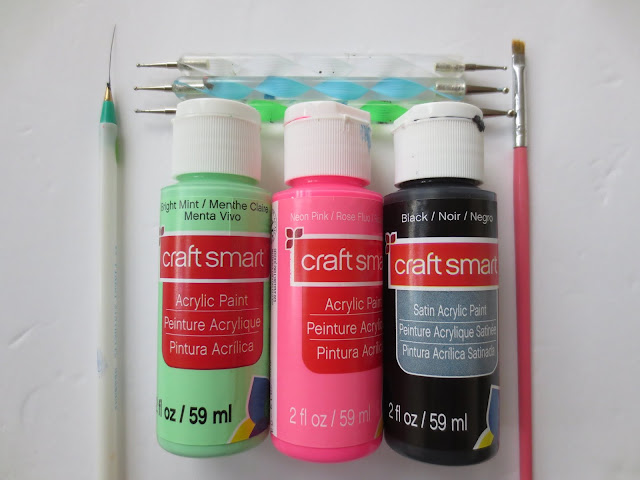
You can create easy nail art with a couple tools that will make you look like a professional. For this demonstration I'm going to use some acrylic paint you can find at Michaels, Walmart, Hobby Lobby, Jo Anns craft store or even online, A dotting tool (Can be found online or at a beauty store like Sally's), An old toothbrush (Not the same one for your teeth and a long line brush (usually found in a cheap nail art brush set)

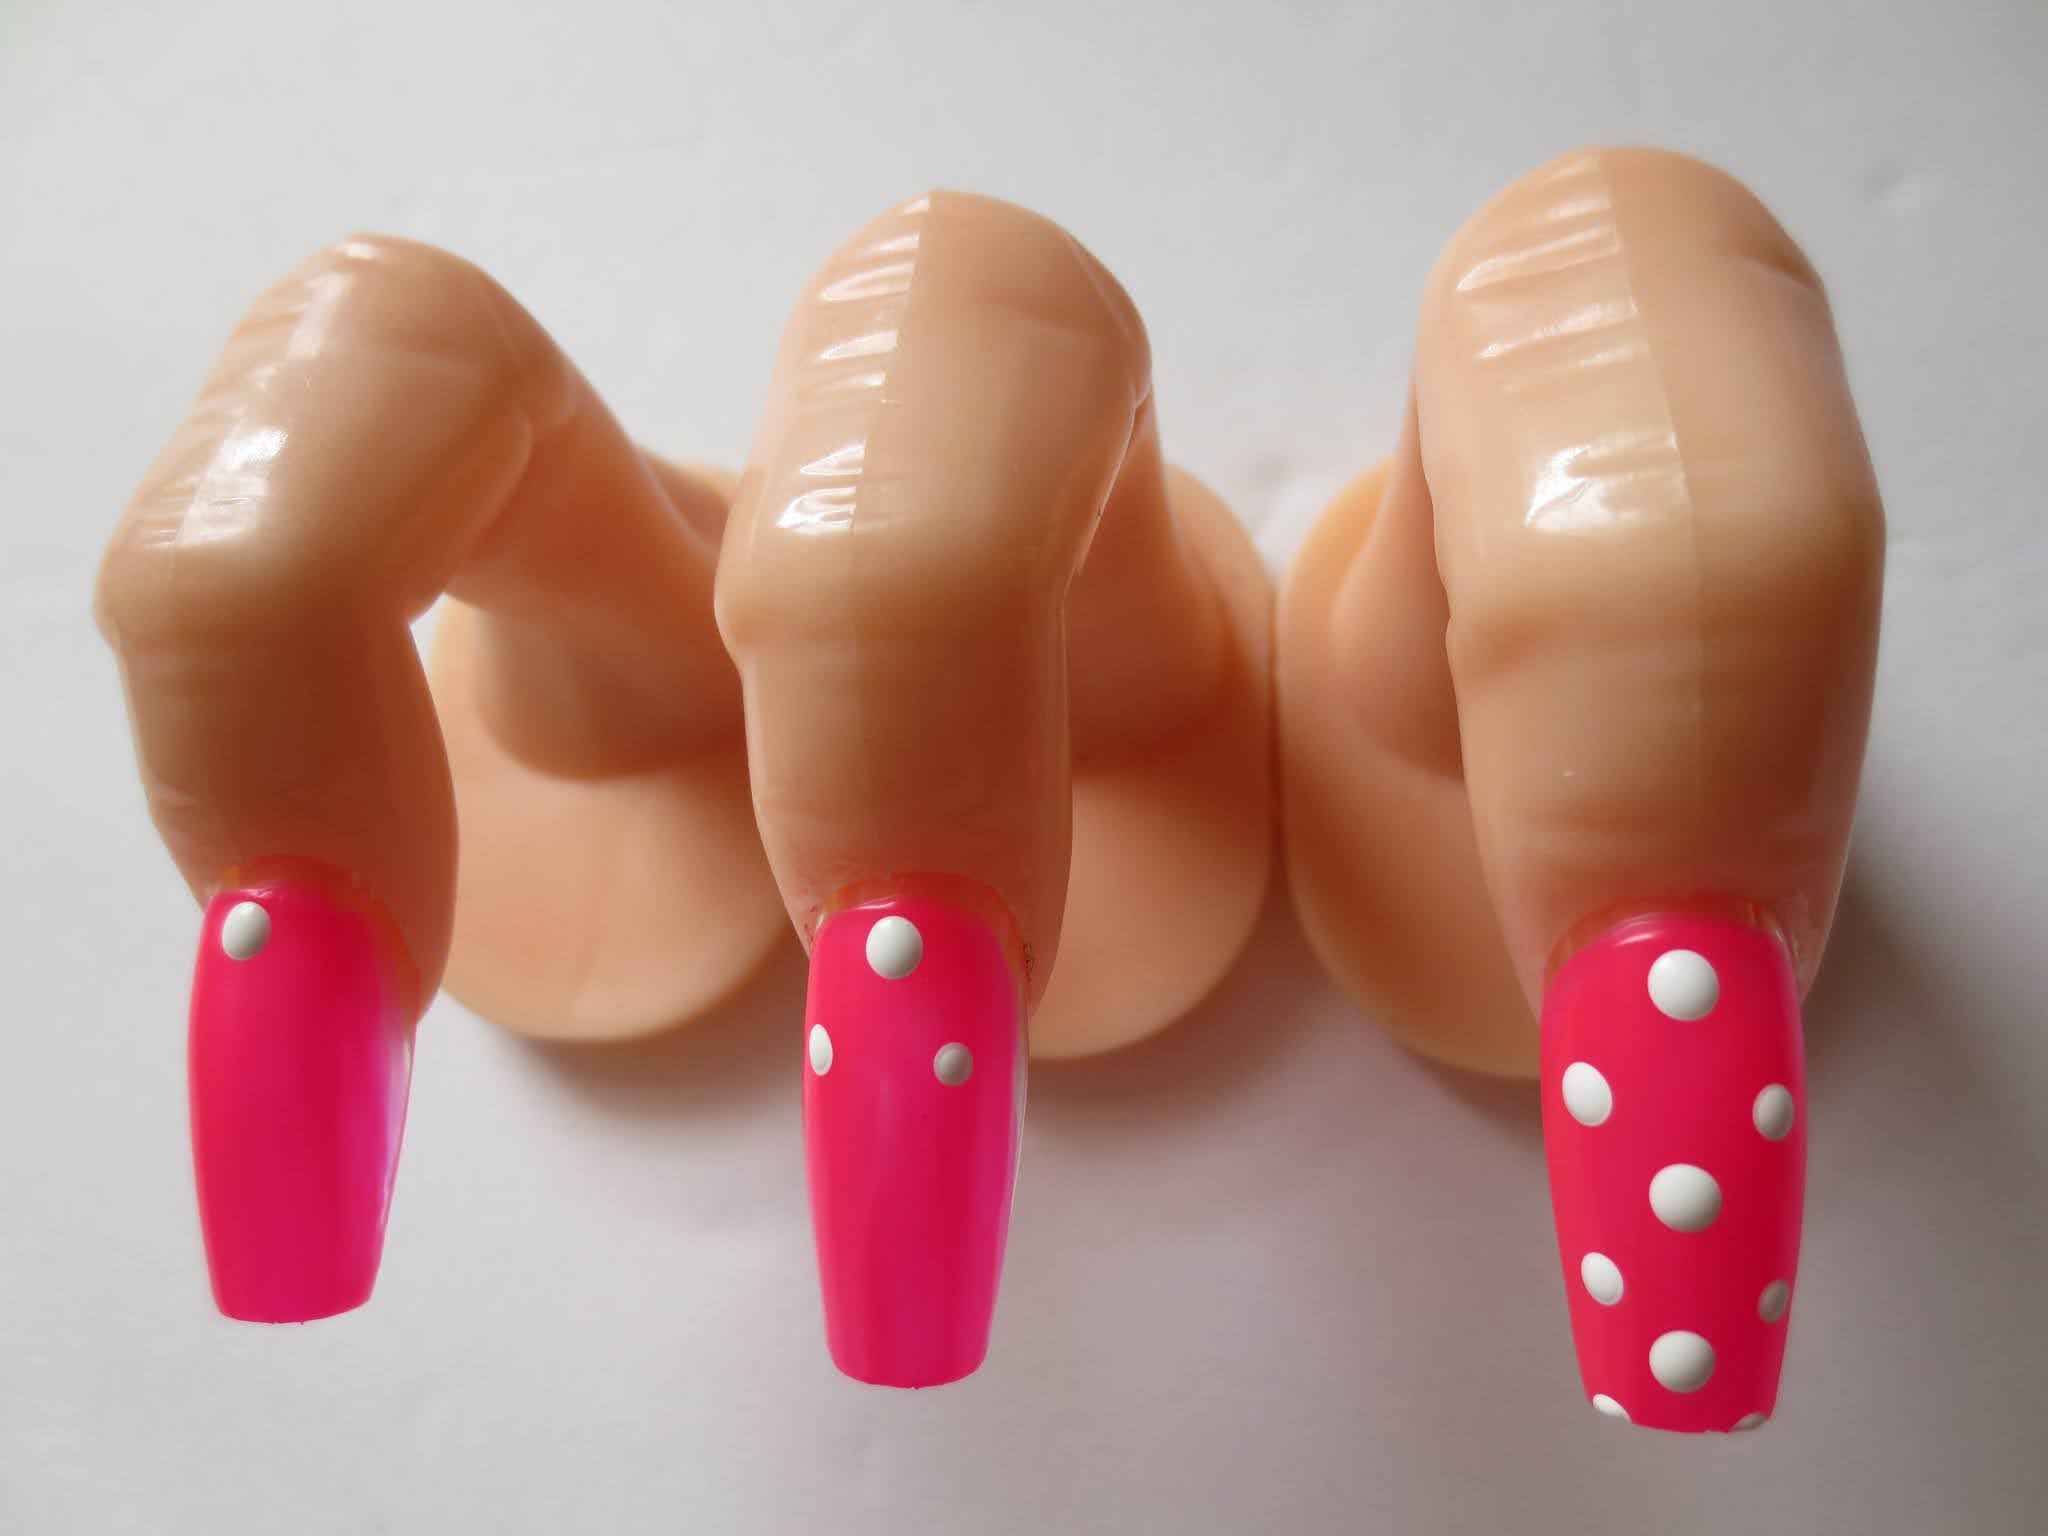


Happy Nail Designing!

You can create easy nail art with a couple tools that will make you look like a professional. For this demonstration I'm going to use some acrylic paint you can find at Michaels, Walmart, Hobby Lobby, Jo Anns craft store or even online, A dotting tool (Can be found online or at a beauty store like Sally's), An old toothbrush (Not the same one for your teeth and a long line brush (usually found in a cheap nail art brush set)
Happy Nail Designing!
This is my D.I.Y recipe for shaving lotion. I've used this recipe for years and years and I haven't had any cuts since I start making it. I used to buy shaving cream and I would be cut a couple times by the time I got done shaving my legs. With this DIY shaving lotion I never had that problem.


This is my D.I.Y recipe for shaving lotion. I've used this recipe for years and years and I haven't had any cuts since I start making it. I used to buy shaving cream and I would be cut a couple times by the time I got done shaving my legs. With this DIY shaving lotion I never had that problem.
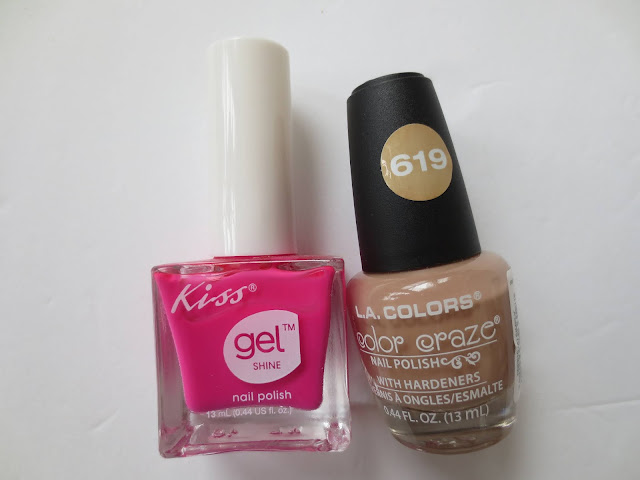
Make sure to check your local Dollar Tree for LA Colors nail polish. I've been getting loads of new colors. I stock up on LA colors nail polish for my manicures and pedicures and also my custom press on nails I do for people on Ebay, Depop and Mercari. These colors are all in the nude/neutral family and they are very popular with my customers. I'm also a fan of these nail polish colors because they are more chill and laid back. I still go on public transportation alot so I like my colors to be more toned down.


Make sure to check your local Dollar Tree for LA Colors nail polish. I've been getting loads of new colors. I stock up on LA colors nail polish for my manicures and pedicures and also my custom press on nails I do for people on Ebay, Depop and Mercari. These colors are all in the nude/neutral family and they are very popular with my customers. I'm also a fan of these nail polish colors because they are more chill and laid back. I still go on public transportation alot so I like my colors to be more toned down.


Social Icons