Showing posts with label nails. Show all posts

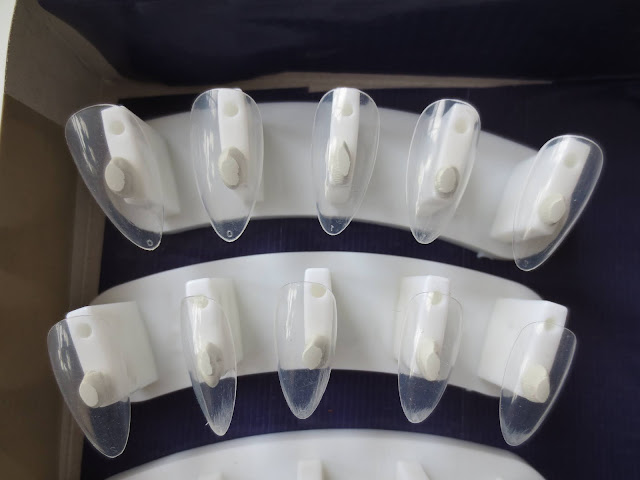
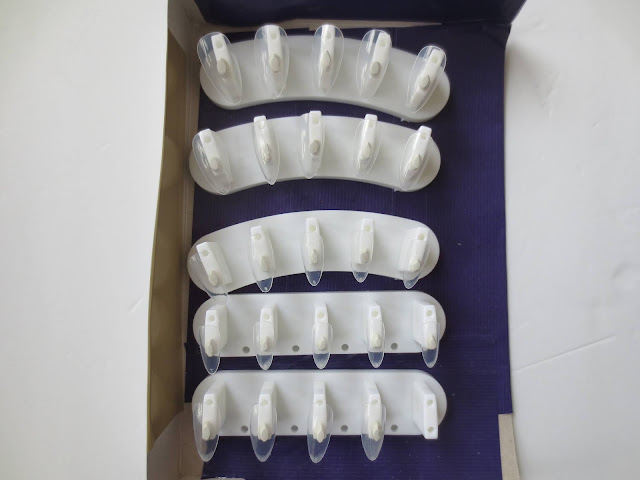
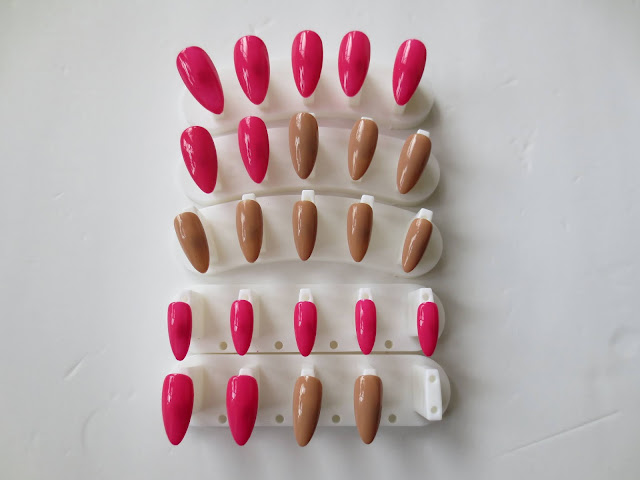
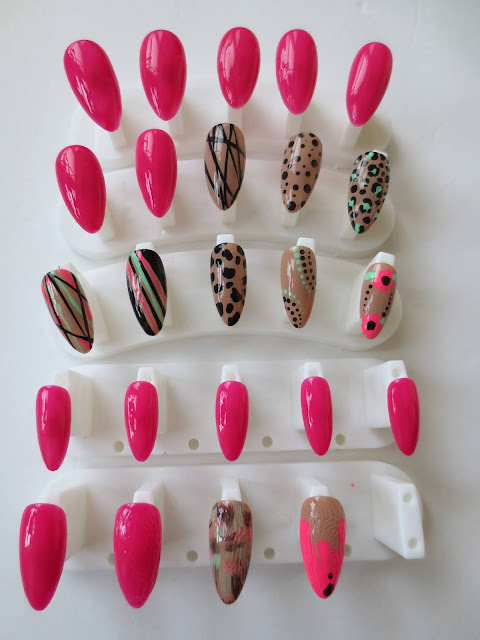
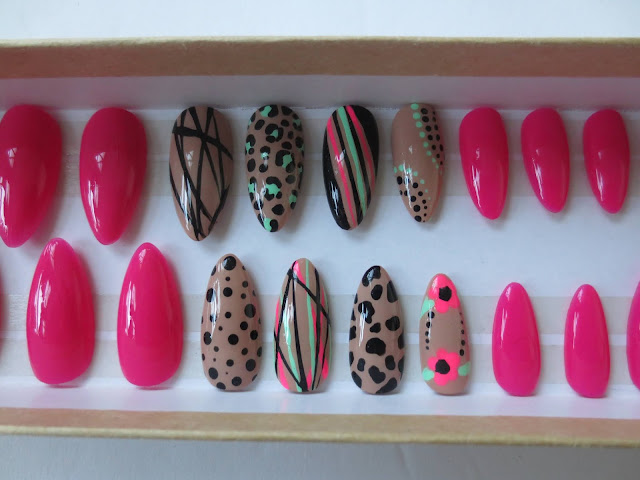
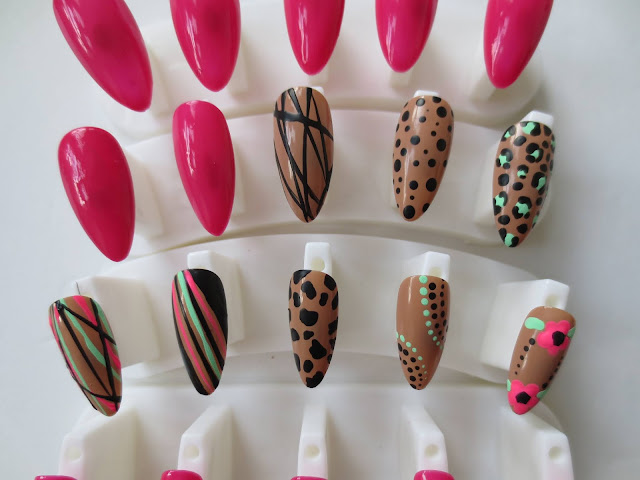
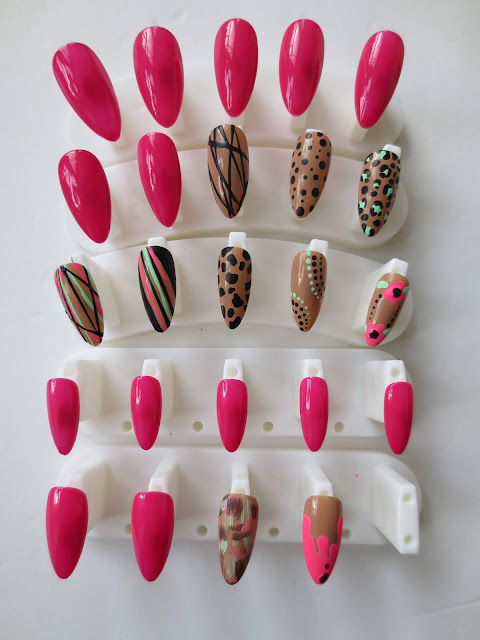
 Doing custom press on nails from home is extremely easy. All you need is any shape of press on nail (make sure they are full cover) Any type of nail stand, and some type of sticky putty to attach the press on nails.

Take your sticky putty and put your press on nails on your stands. These are for a (24) set of custom nails to be sold later on. You can also do these just for yourself or for friends and family.
To keep them all together while designing them I cut a gift box from The Dollar Tree in half and made it strong with some colored duct tape. It just makes it easier when cmoving multipe sets of  press on nails around.
Now that your press on nails are set up and ready to be painted it's time to pick out your nail polish colors. I'm going with a combination of pink and tan.
My colors of nail polish chosen are: Kiss Gel Shine Nail Polish in DTGNP06 and L.A. Colors Color Craze Nail Polish in a shade of  "Simply"
I chose to do some press on nails in the pink shade and some nails in the tan shade of nail polish. The tan press on nails will be designed with acrylic paint and some nail art brushes and tools.
The acrylic paints are from Michaels by Craft Smart. I also have a liner brush, angle nail art brush and dotting tools that I will be making various nail art designs on each press on nail with.
As the nail art is being done the acrylic paint will dry depending on how thick you put the acrylic paint on. You will know it's dry when it looks like chalk and is dry to the touch.
I let the press on nails dry for about an hour just to make sure there is no smudging or smearing when I apply the topcoat.
I'm big on this Poshe Super Fast Drying Topcoat. I apply two coats to all of my press on nail sets.
After the press on nails have two coats of Poshe topcoat on them I let them dry for a couple hours before I put them in a box. If possible letting them dry for (24) hours would be ideal but if thats is not possible at least a couple hours.
After you have let the press on nails dry they can placed in a box for storage yourself, a friend or shipped to a customer. In a few easy steps you can have custom press on nails to keep, gift or sell. 

Leave some color combinations or nail ideas if you have any to share! Thank you for stopping by make sure to come back!
👄👄👄👄👄👄👄👄👄👄👄👄👄👄👄👄👄👄👄👄👄👄👄👄👄👄


 I did it again! I was able to scoop four colors of nail polish from The Dollar Tree all Sinful Colors brand! I'm super excited because its very rare to see Sinful Colors nail polish in The Dollar Tree. Sinful colors nail polish is usually in a store like Sally's or a higher priced beauty store. I was also impressed with the shades I picked up. Usualy the colors all look alike or they are dull and unwanted but these colors are POPULAR!.

First color is a deep lush red called "Redrum" It's a sexier type of deep red. Would look great on nails or toes. This is more of a classic color. If your a red lover this is a beautiful shade of red for a set of nails.
Next color is called "Charmed" it's a fine glitter sparkle type of polish. This charmed color can be worn by it'sself but I feel like it would have popped so much more over a cool tone colored nail polish. But is very suttle by itself. Very fine and glittery without the flash. Like a elegant champagne glitter.
The third color named "Interglamactic" it's a violet purple but brighter type of shade. Not quite purple but not pink either so I would say it was more of a pretty violet shade. Great to step out of your comfort zone with. Not to bright but a stand out nail polish color.
Last but not least is "Spirirted" a lilac purple shade that is super cute. I have this shade on my pedicure right now and it looks great! I'm not a purple person but I might start doing a purple manicure and pedicure once in a while. It's a nice break from red or blue.
I'm very pleased to put all of these Sinful Colors nail polishes in to my collection. I would love to see a lot of these shades as press on nails. More manicures and pedicures with these nail polishes before the summer season is over.
You guys already know the drill! Check your local Dollar Tree or just a dollar store and even discount places like big lots and you can possibly run up on deals like these.
So grateful to have found these for a total of $4.00! (Plus tax of course) Thank you for checking out my Sinful colors nail polish swatch blog! As soon as I find more shades I will swatch them. Have a great one!


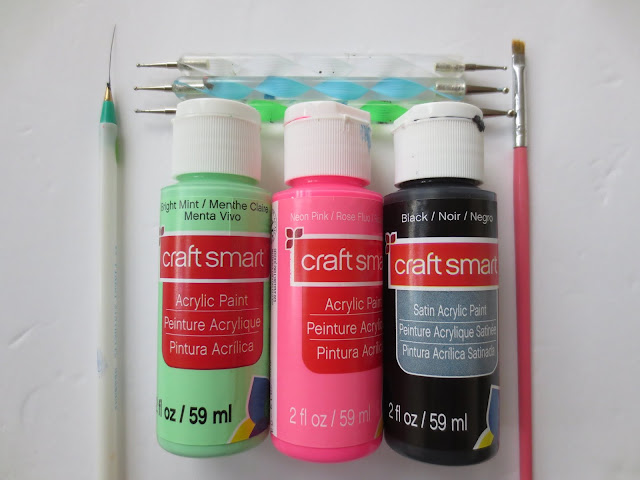
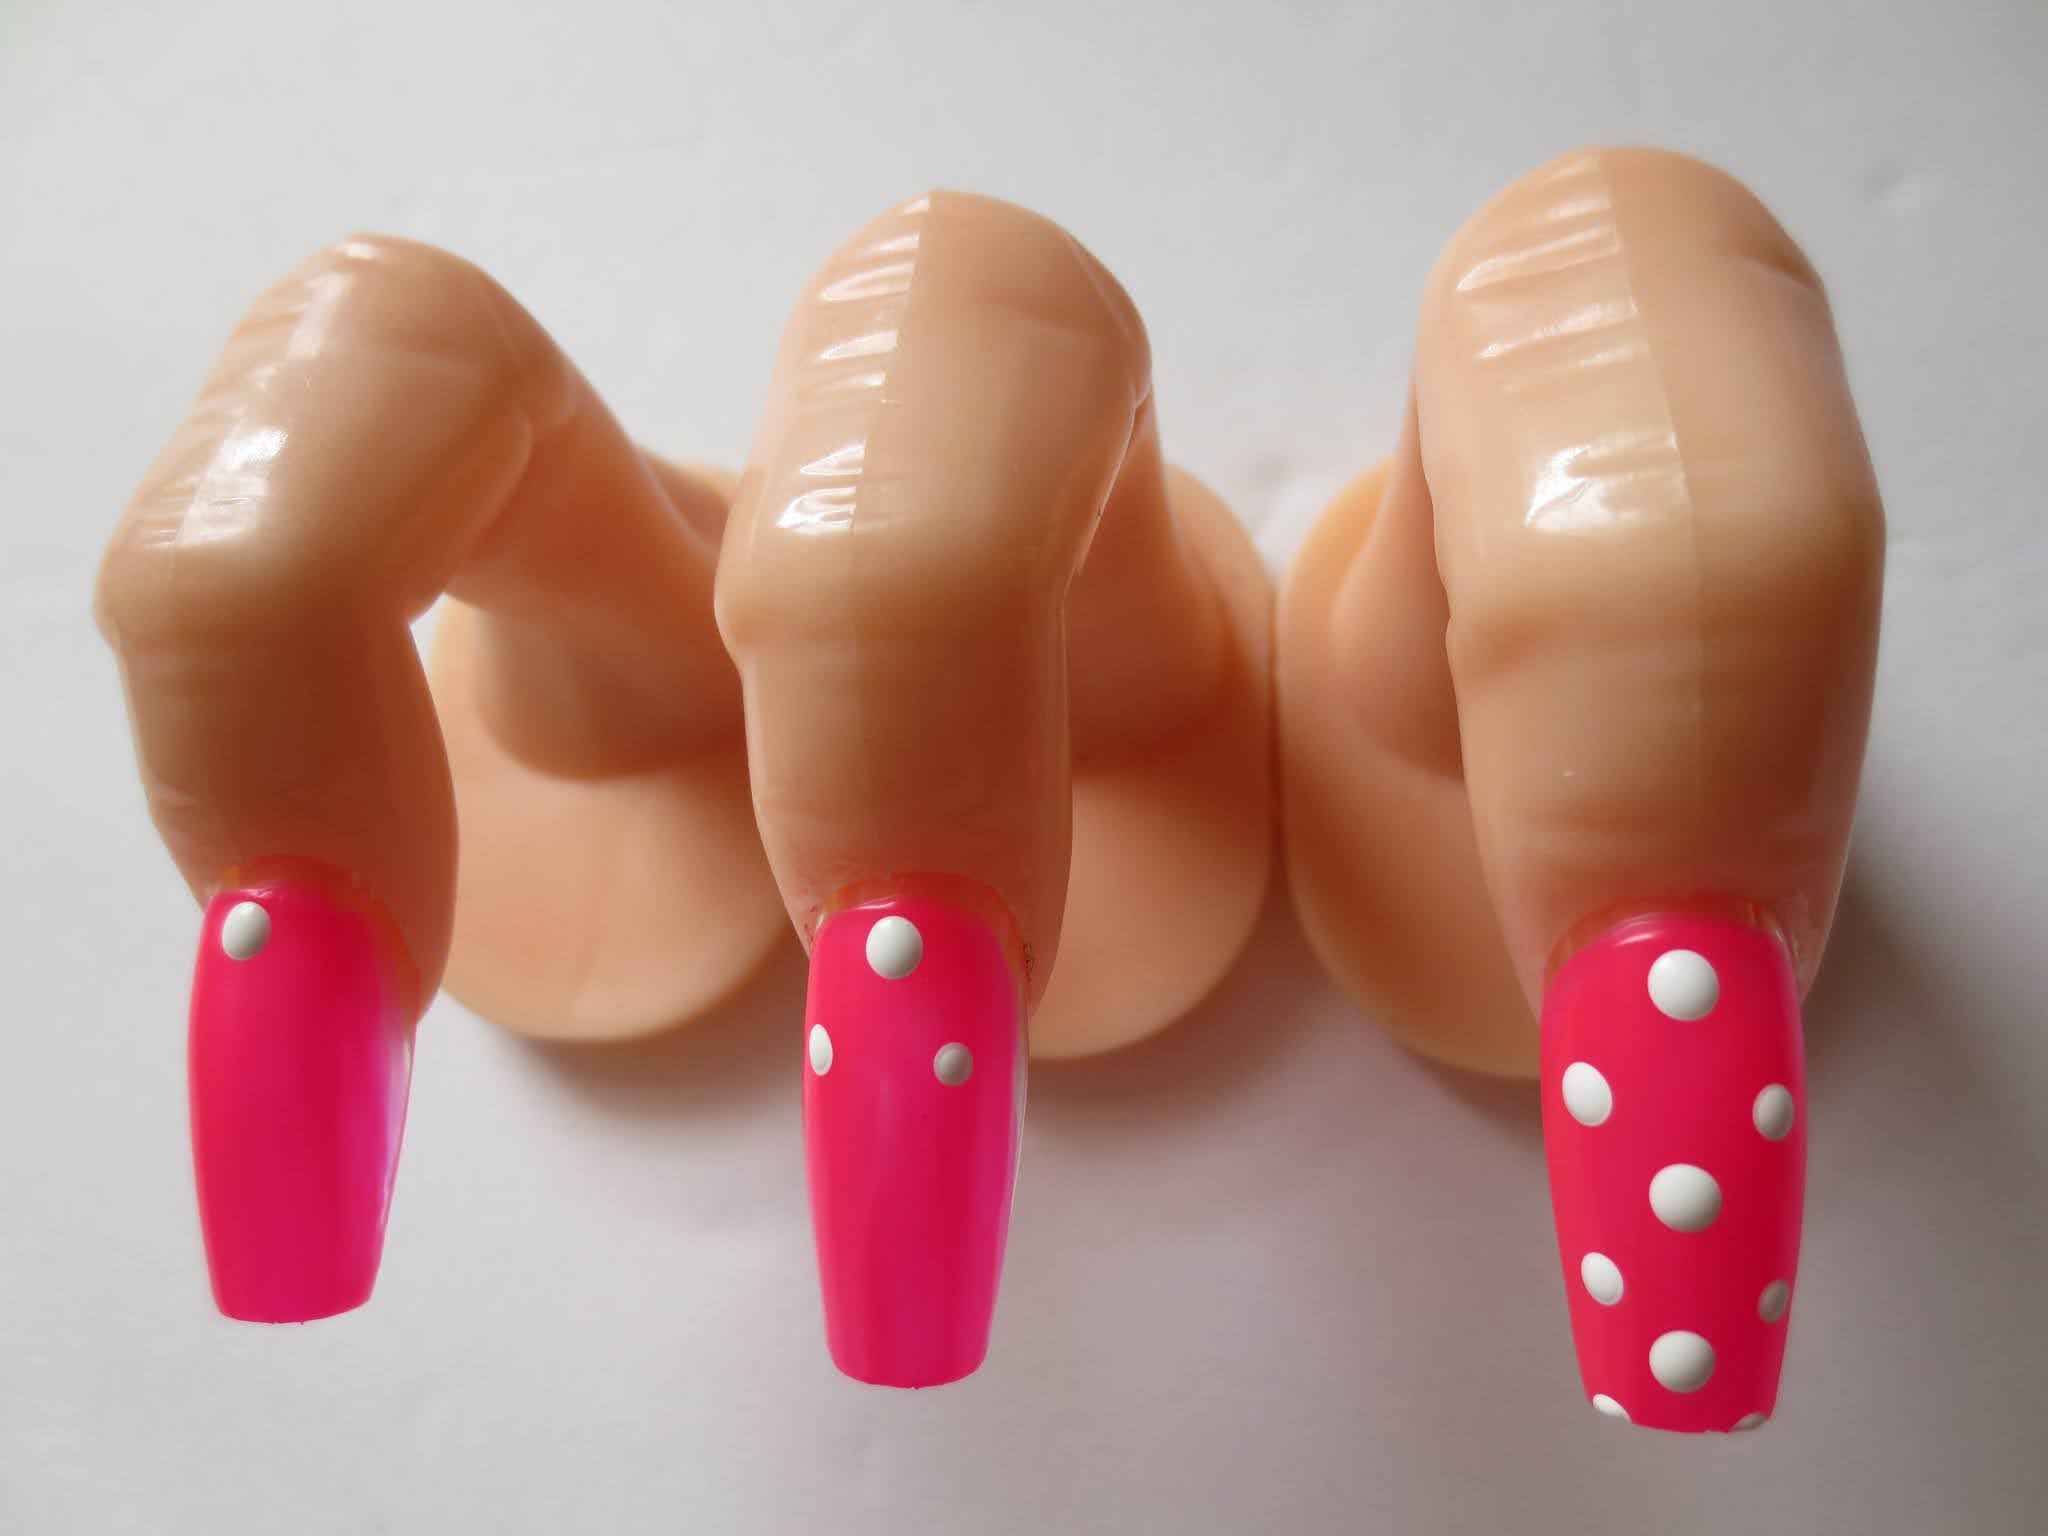
 You can create easy nail art with a couple tools that will make you look like a professional. For this demonstration I'm going to use some acrylic paint you can find at Michaels, Walmart, Hobby Lobby, Jo Anns craft store or even online, A dotting tool (Can be found online or at a beauty store like Sally's), An old toothbrush (Not the same one for your teeth and a long line brush (usually found in a cheap nail art brush set)


First white dot design is super easy. I'm using a practice finger with a nail tip inserted. I painted the nail tip pink and started with one white dot. Next place two white dots above it and repeat that pattern until there is no more room for anymore dots.

Put top coat over it and now you have an easy peasy dot pattern you can do on all types of nails or just one accent nail.


The second nail design is one of the most simple designs I've ever seen. Your going to take an old tooth brush dip the tip of the toothbrush into your desired acrylic paint and keep dabbing on the nail until you get the look you like.


Let it dry and put your desired topcoat over it and be proud of your one of a kind toothbrush design.


I saved the geometric lines for last because this is the most challenging for a beginner with little to no nail art skills. Take your thinnest line brush dip it in the acrylic paint make sure to test your lines on a piece of paper or cardboard to make sure the lines are smooth and thin. Start with two sets of lines on one side of the nail then another two lines on the opposite side of the nail. Lastly start creating lines going thru the other lines. Now you have a geometric line nail.


Apply topcoat over the top and WALA you made a geometric nail design.


All these nail designs and simple and with acrylic paint the designs are unlimited. Make sure to let your acrylic paint dry completely before applying the topcoat. You will know it's dry when it's a flat color and looks like chalk.


Happy Nail Designing!


Thank you for stooping by! If you would like more nail art tutorial blogs let me know in the comments!


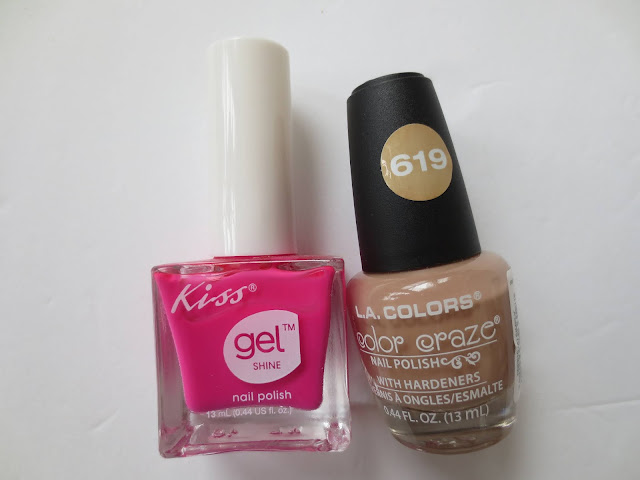
 The Dollar Tree has really been coming through on these LA Colors nail polish! Every time I go to a new location they have more new colors. This week I picked up a LA Colors nail polish called "Watermelon" very beautiful deep dark berry pink color. 

This was my first time getting this nail color most are duplicates so I buy the same colors over and over. It was nice to see a deeper shade of pink.
LA Colors nail polish "Watermelon" was such a pretty color on my pedicure I decided to throw in a quick manicure also
Definitely will be keeping the watermelon nail color from LA Colors for my nails and toes for this summer. Hope I can stock up on some new colors for the next post! Make sure to visit your local Dollar Tree and see if you can find any nail polish steals from LA Colors.